
Flow Tuscaloosa DIY Lantern Guide
One of the major Flow Tuscaloosa events is a lantern parade on May 21 along the Tuscaloosa Riverwalk. We plan to gather community folks together with lanterns that evoke or symbolize the history and ecology of our waterways to create a beautiful procession of lights.
We are offering lantern workshops during Tuscaloosa’s First Friday events in April and May (see our calendar on the website for more info). But, if you can’t make it to one of our lantern workshops, we encourage you to build one at home! It’s easy, fun, and inexpensive.
These instructions walk through a few versions of a very simple lantern. We include ideas for more complex lanterns at the end of the guide.
If you’d like inspiration for what kinds of plants and animals might make a good lantern, see our Resources page. We encourage you to learn about our waterways and build a lantern that reflects what you find interesting about our local landscape.
Materials
All of the materials listed can be found at Michael’s or any craft store. You can also build a lantern with stuff around your home (sticks from your yard, leftover tissue paper, scissors, and tape–you can think creatively here).

Here’s what we use:
- Tissue paper (white or color paper works–you can get creative!)
- Balsa wood craft sticks (easy to bend and cut)
- Tape or glue stick
- Scissors
- Paper lunch bags
- Wire (optional)
- Twine
- Top of plastic bottle (to hold the light)
- Portable Light (see below for links)
- A leaf or flower that you use to to create a silhouette (optional)
On lights: you can purchase the USB-rechargeable lights we use (bottle lights and camping lights) but we’ll also have lights for your use the day of the lantern parade. You can “check out” a light and return it at the end of the parade. In that way, we can limit the use of plastic and save you money.
Paper Bag Lantern
This is perhaps the easiest lantern to build. Using a lunch-size paper bag (we chose white so the light would really shine through), cut a whole in the bottom, large enough for the top of your light.

If you use one of the camping lights, you can hold the lantern with the light’s hook. You can draw or color on the paperbag to create a unique lantern.

Balsa wood and tissue paper lantern
You can use balsa wood and tissue paper to build a simple lantern, like we do below, or another kind of form (see examples at the end of the guide). The possibilities are limitless!
Note that ours is one way to build a simple lantern, but you can create your own version.
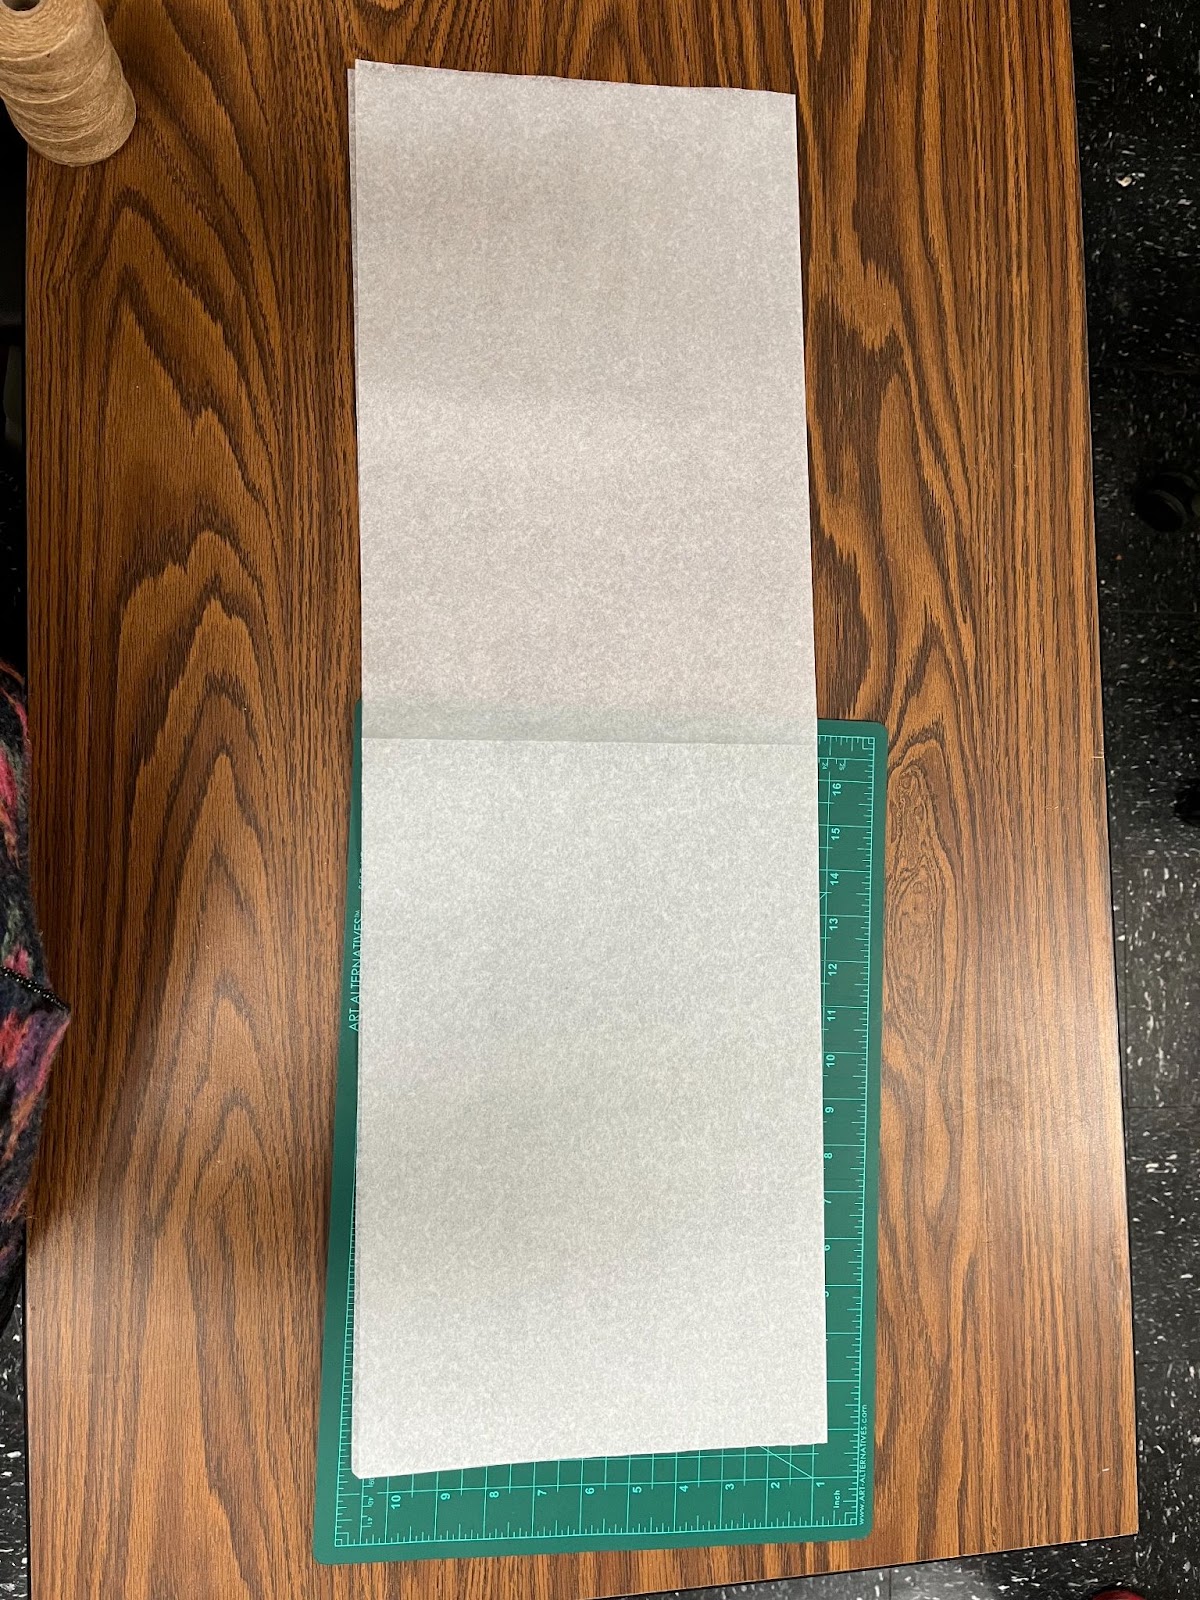
Step 1: Take a piece of tissue paper and fold it in half (our large tissue paper sheets measure 20” x 30”; folded in half 10” x 30”)

Step 2:
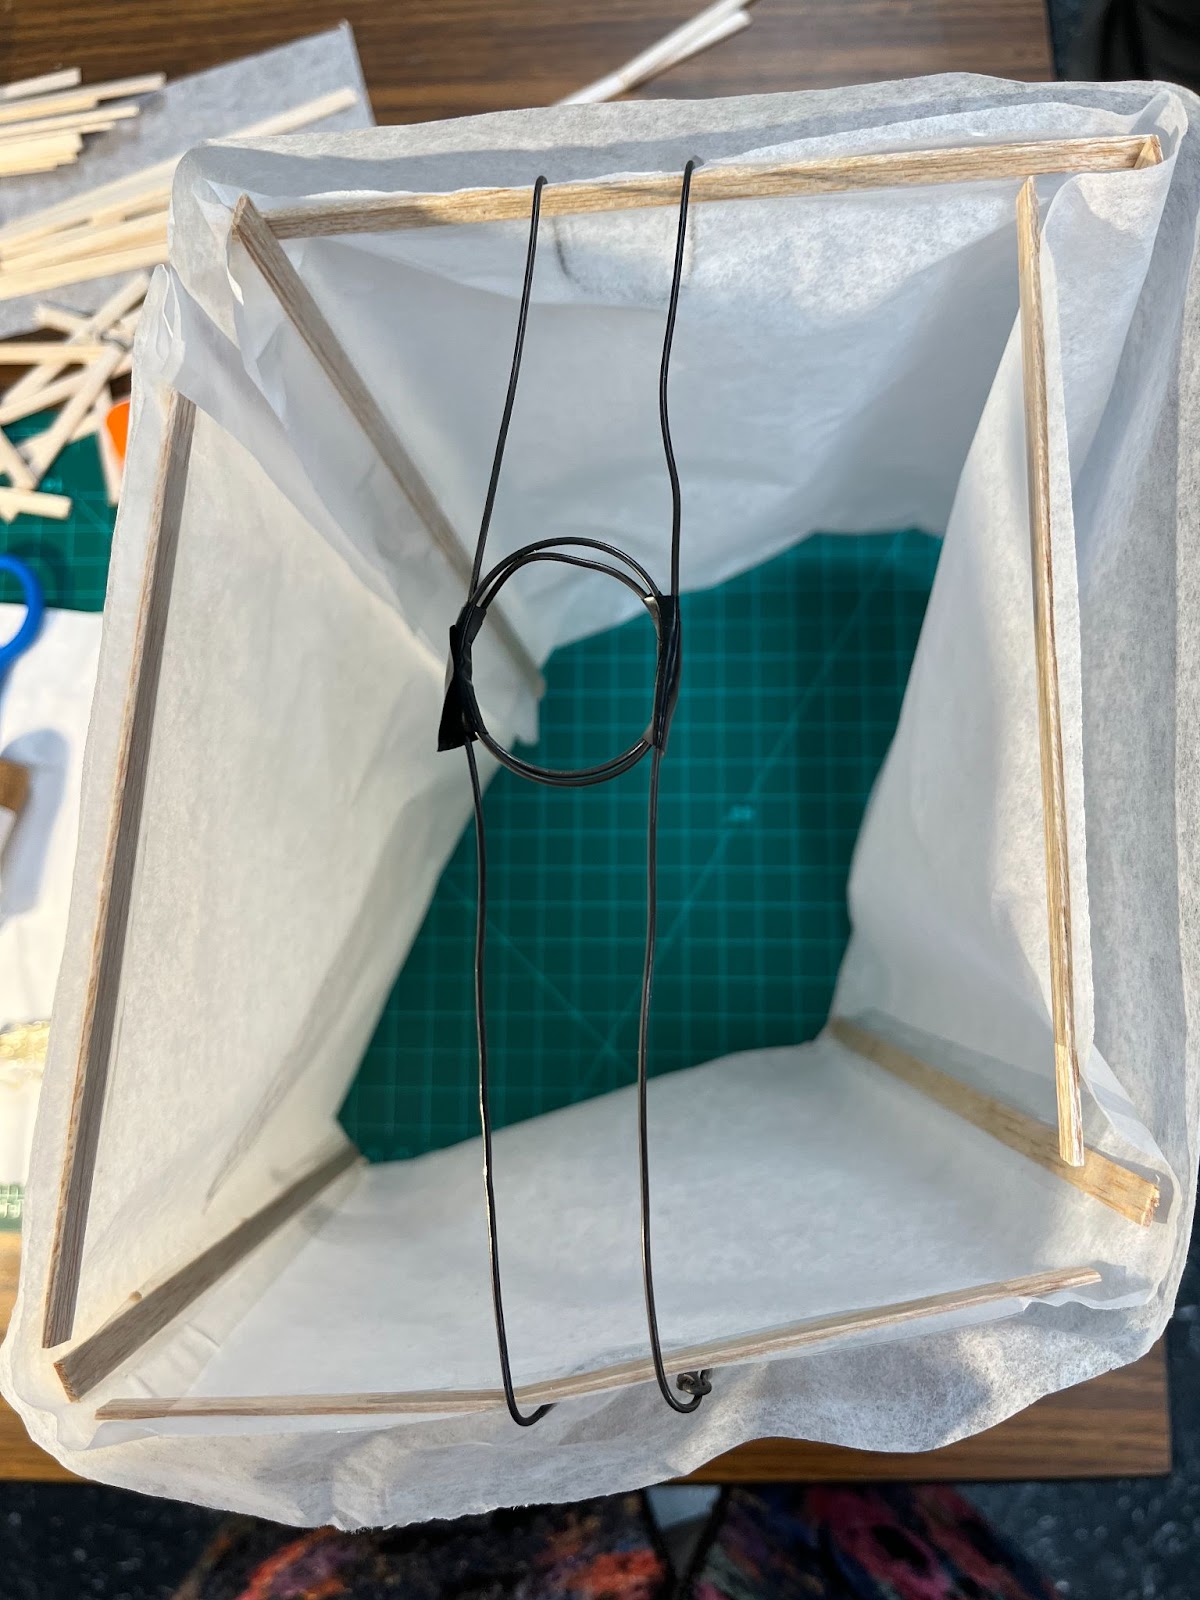
Build the lantern frame. For this, you’ll need five pieces of balsa wood craft sticks cut to 10” and five pieces cut to 4”. Tape or glue the shorter sticks to the top edge of the lantern- this will be the long edge of the tissue paper, opposite of the fold; leave small spaces between these short sticks. In that space, tape or glue the longer sticks perpendicular to the short sticks and across the width of the lantern, like the image below.
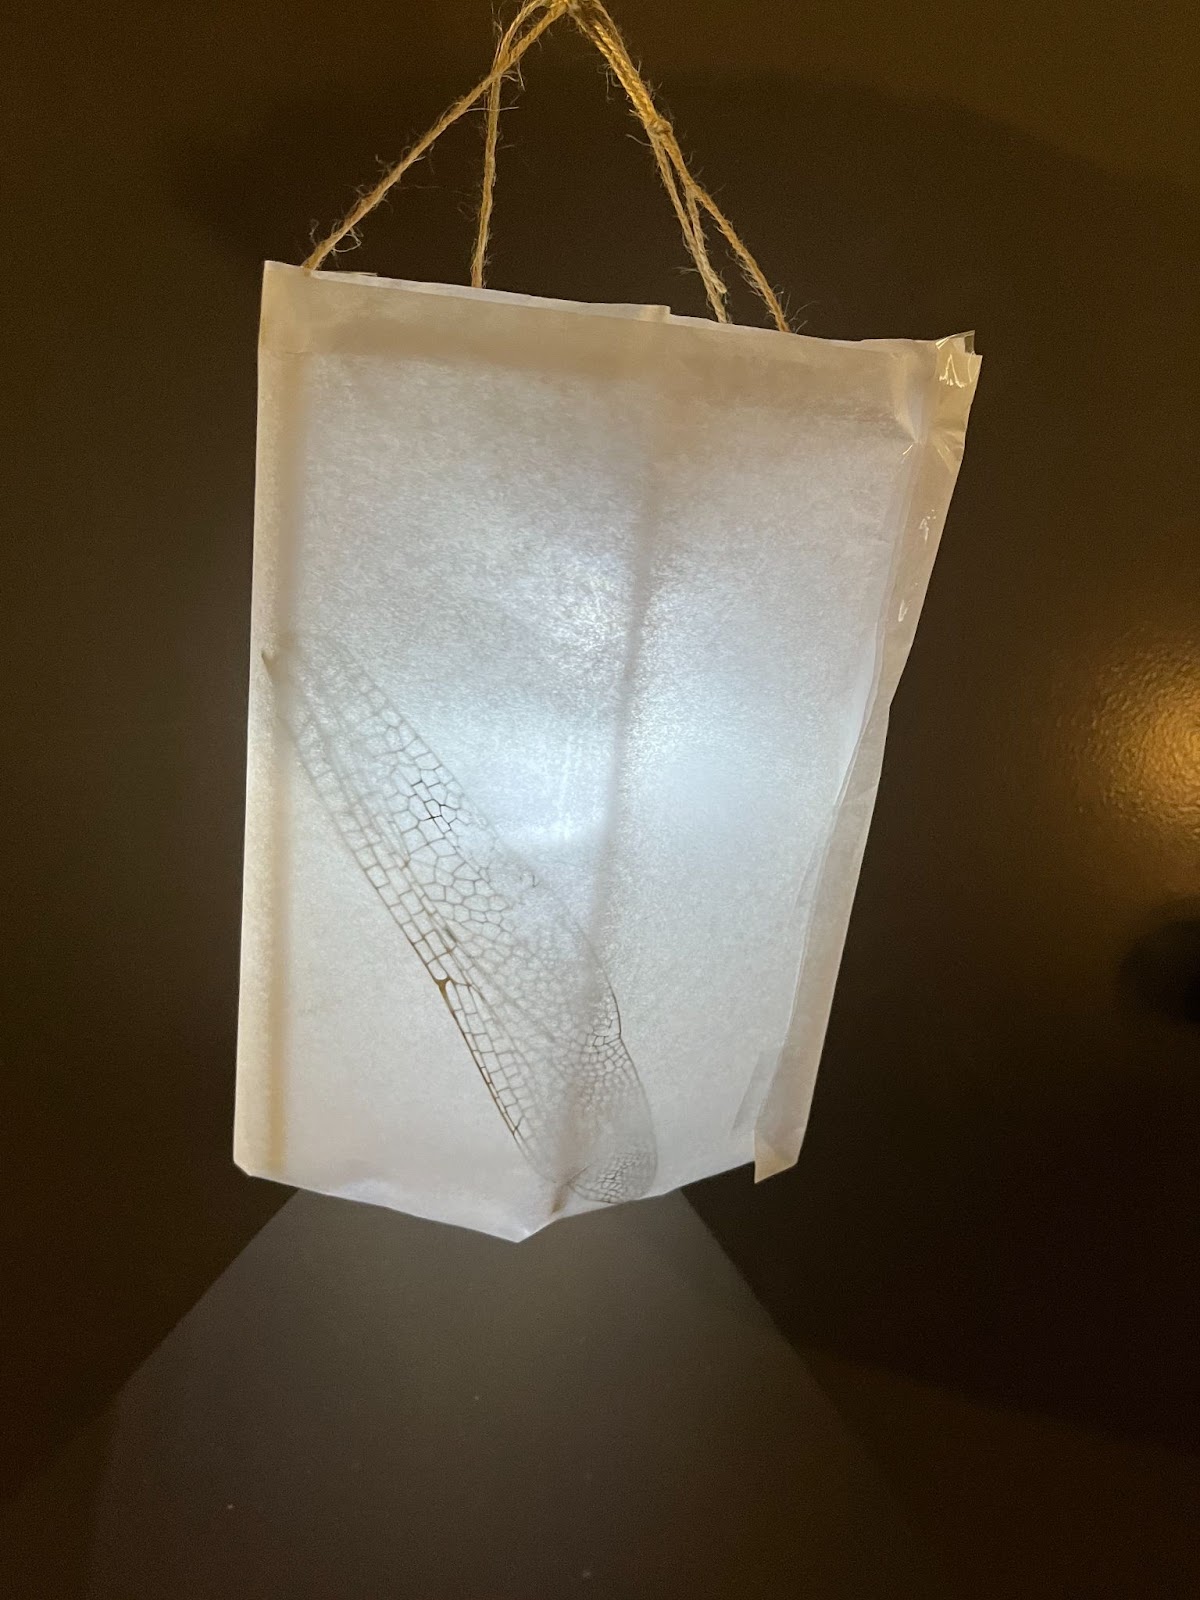
You can decorate the panels of your lantern now with cut out shapes, images of flora or fauna of our waterways, or your own design. You can also insert leaves and flowers in between the tissue layers–these will be illuminated in silhouette once the lantern is lighted!

Step 3: Connect the ends of the lantern
Fold the lantern ends until they touch and then tape or glue the ends together.


Step 4: Secure the light to the lantern.
First, cut off the top of a plastic bottle, about halfway down. For the smaller bottle lights (cork-style), you can use a 16-20 oz bottle (from a normal-sized Coke or water bottle). Insert the light into the bottle.
Second: Cut two pieces of twine ten inches each. Tie each of the strings around the bottle’s neck in the middle of the string, leaving several inches of string on each end. Tape strings to the balsa sticks inside the top of the lantern, about one inch from the light, then tie the remaining loose ends together to form a handle for the lantern:

You can also create a structure for the light using wire:
Voila! You are ready to bring your lantern to our May 21 parade.
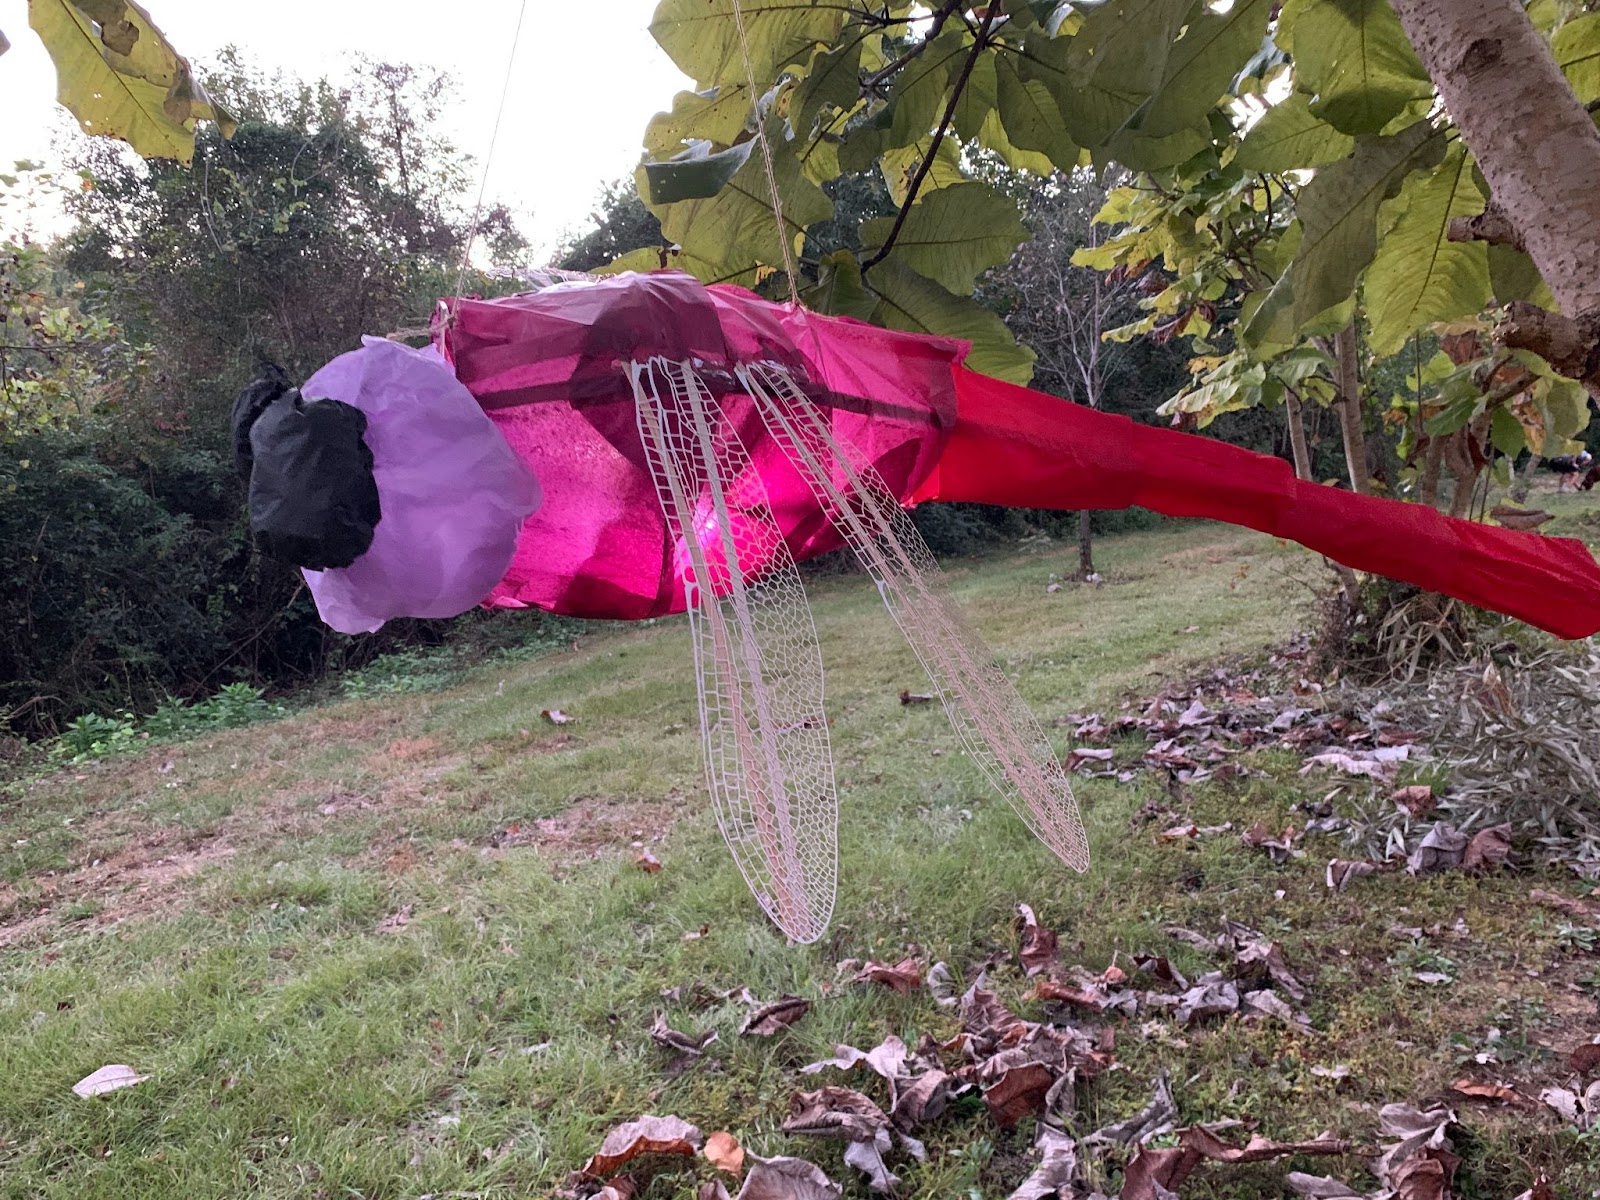
We hope you will have fun with this and bring your creativity to lantern building. If you want to spend a bit more time, you can build a form using the same materials. For example, some of participants have built forms of insect species that inhabit our natural world, like dragonflies:
Some folks have used what they can find in their backyard, like leaves:

Some have built lanterns that evoke the human history of the riverways. One example is the covered bridge below, made from popsicle sticks, that references the work of formerly enslaved architect Horace King, who reconstructed the bridge over the Black Warrior River in 1871, after it had been destroyed during the Civil War. There are good YouTube videos that show how to make the bridge.

We can’t wait to see what you build!